JupyterLab is a web-based interactive development environment for designing and configuring workflows for data science, scientific computing, and machine learning. You can write your code, visualize the data as charts and tables, and document your findings in plain text, all in one file. This step-by-step guide will take you from having nothing installed to launching your first JupyterLab session in just a few minutes. We’ll install Anaconda Distribution—which contains JupyterLab and Anaconda Navigator—launch Navigator, and use Navigator to launch your first JupyterLab session.Documentation Index
Fetch the complete documentation index at: https://anaconda.com/docs/llms.txt
Use this file to discover all available pages before exploring further.
Install Anaconda Distribution
Download Anaconda Distribution. For detailed instructions on installing Anaconda Distribution, see Installing Anaconda Distribution.
Open Anaconda Navigator
Depending on your operating system, you can open Anaconda Navigator in the following ways:
- Windows
- macOS
- Linux
From the Start menu, search for “Anaconda Navigator” and click to open.
Missing Anaconda Navigator?
Missing Anaconda Navigator?
Launch JupyterLab
JupyterLab is included with your Anaconda Distribution install by default.
Select Launch on the JupyterLab tile to launch JupyterLab.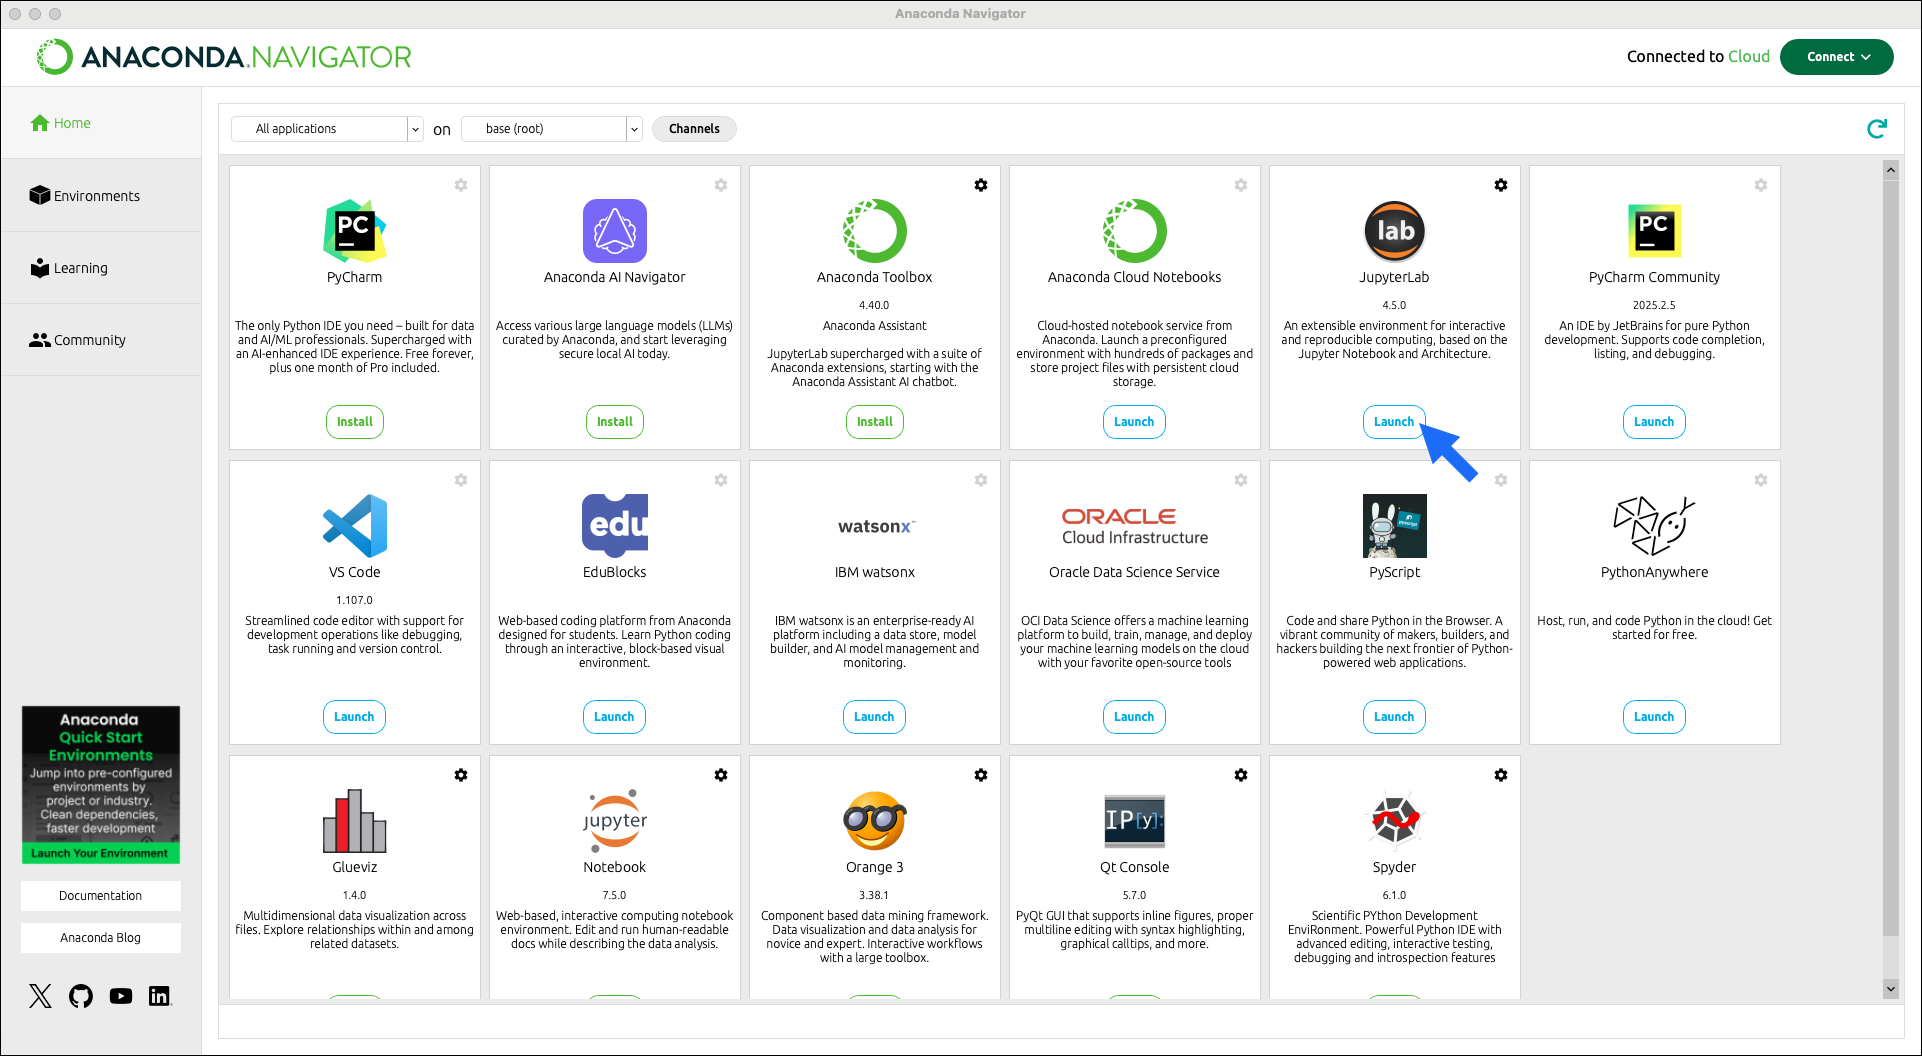
Installing JupyterLab in another environment
Installing JupyterLab in another environment
The JupyterLab tile appears on Navigator’s Home page by default, but you’ll need to install the package before you can launch it. If you’re working in a project environment (other than
base), you’ll need to install JupyterLab in that specific environment:- On your Navigator Home page, open the dropdown beside the Channels button. This dropdown contains all of your conda environments.
- Select the environment you would like to use for JupyterLab.
- Select Install on the JupyterLab tile.
Do even more with JupyterLab using Anaconda Notebooks! Register or sign in with Anaconda to access:
- Anaconda Assistant, an AI-powered chat app that can help you quickly get up and running with your code.
- Cloud storage, up to 5GB. You can upload any of your local notebooks to Anaconda Notebook’s cloud interface or add your local notebooks to Anaconda Projects and work both locally and in the cloud.
- Code snippets, which enable you to save and share reusable blocks of code.
- Notebook deployments as Panel applications, so you can share your work interactively with colleagues.