Invitations
Inviting members to your organization
Inviting someone to join your organization provides them with a link to join the organization via email. Once they join, assign them a seat to enable them to issue themselves an organization access token.- Navigate to your Organizations page.
- Select your organization.
- Under User Management, select Invitations.
-
Select Invite Users, enter your team member’s email address, and then press tab. Repeat this process to continue adding members.
Alternatively, you can select Bulk Upload and upload a
.csvfile containing your team members’ email addresses (for larger organizations).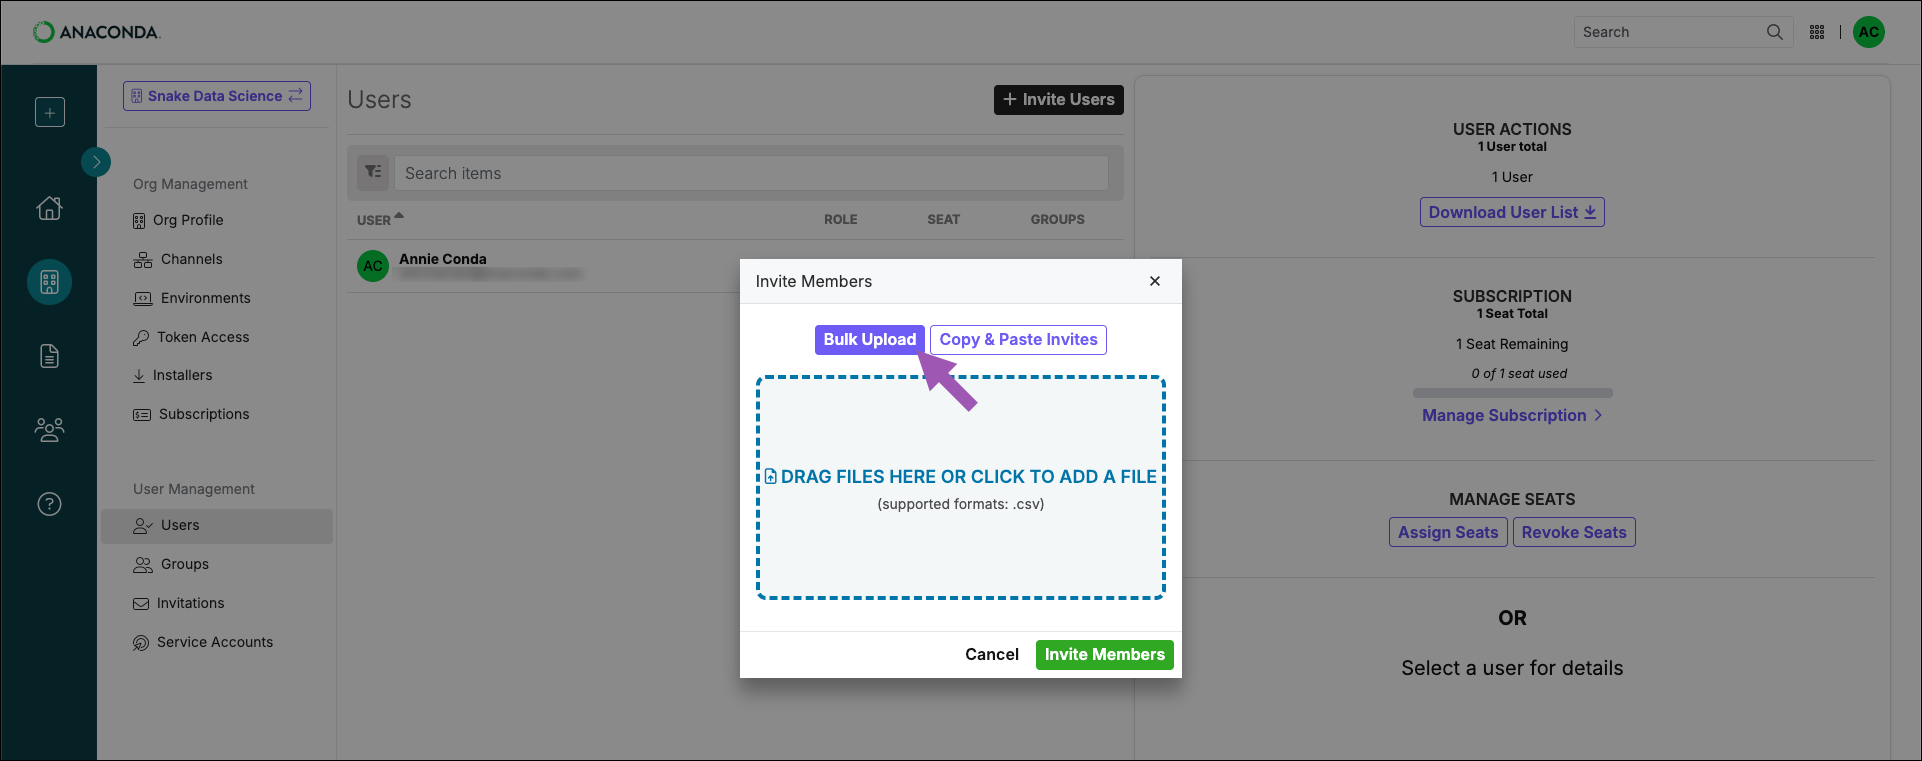
-
Click Invite Members to send the invitations.
Once you invite your member(s), they will receive an email to join the organization. Accepting the invitation in the email redirects them to the Anaconda.com login page. Once logged in, they can accept the invitation and join the organization.
If the invited team member does not have an Anaconda.com account, they can create one using the email that the invite was sent to, then join the organization.
Reissuing an invitation
Invitations expire after seven days. You can reissue an invitation to a user to provide them with another seven days to accept the invitation.- Reissue individual invite
- Reissue multiple invites
- Navigate to your Organizations page.
- Select your organization.
- Under User Management, select Invitations.
- Select the user you need to reissue an invitation for.
- Click Resend Email Invite.
Removing an invitation
If you have invited someone to your organization in error, you can remove the invitation you sent. This also prevents the invitation recipient from being able to join your organization.- Remove individual invite
- Remove multiple invites
- Navigate to your Organizations page.
- Select your organization.
- Under User Management, select Invitations.
- Select the user whose invitation you need to remove.
- Click Remove Invite.
Seats
Assigning organization seats
Once a member has accepted their invitation, you must assign them a seat (license) before they can issue themselves a and access your organization’s .- Assign individual seat
- Assign multiple seats
- Navigate to your Organizations page.
- Select your organization.
- Under User Management, select Users.
- Select the user you need to assign a seat to.
- Click Assign Seat.
Once you assign a member a seat in your organization, they will receive an email with a link to join the organization. Instruct them to open the link and go to the Token Access page to issue themself a token. For more information, see Tokens.
Revoking a member’s seat
If you have a user who no longer requires a seat in your organization, you can revoke their seat while retaining the user as a member of the organization. Revoking a member’s seat will invalidate their token and prevent them from accessing your organization channels.- Revoking individual seat
- Revoking multiple seats
- Navigate to your Organizations page.
- Select your organization.
- Under User Management, select Users.
- Select the user whose seat is being revoked.
- Click Revoke Seat.
- Click Revoke Seat to confirm.
Permissions
Changing a member’s permissions
A member’s role determines their permissions within the organization.- Navigate to your Organizations page.
- Select your organization.
- Under User Management, select Users.
- Select the user whose permissions you need to change.
-
Click Assign as Account Admin, Assign as Billing Manager, or Assign as Member. Available options are based on the user’s current role.
You must be an administrator to update user roles. Administrators cannot change their own role.
- Confirm your role assignment to set the user’s permissions.
Removing a user from the organization
If you want to remove a member from your organization completely:- Navigate to your Organizations page.
- Select your organization.
- Under User Management, select Users.
- Select the user you’re removing from the organization.
- Click Remove from Organization.
- Click Remove User to confirm.