> ## Documentation Index
> Fetch the complete documentation index at: https://anaconda.com/docs/llms.txt
> Use this file to discover all available pages before exploring further.
# Google IAM setup example
In addition to providing out-of-the-box support for LDAP, Active Directory, SAML and Kerberos, Data Science & AI Workbench also enables you to configure the platform to use other external identity providers to authenticate users. If your enterprise uses Google’s Cloud IAM (Identity and Access Management) to manage access to Google Cloud Platform (GCP) resources, for example, you can use the following process to configure the platform to use Cloud IAM as your identity provider. This will allow users to log in to the platform using their Google (or G-Suite) credentials.
**Before you begin:**
* You’ll need to configure a [Google Cloud project](https://console.cloud.google.com/getting-started) on GCP.
* You’ll need to [enable the Google+ API](#enabling-the-google-api) for the project.
* You’ll need to [create the credentials](#creating-google-credentials) to use to authorize the platform to connect to Google IAM.
Enabling the Google+ API
With your project selected *in Google Cloud Platform*:
1. Select **APIs & Services** from the menu on the left.
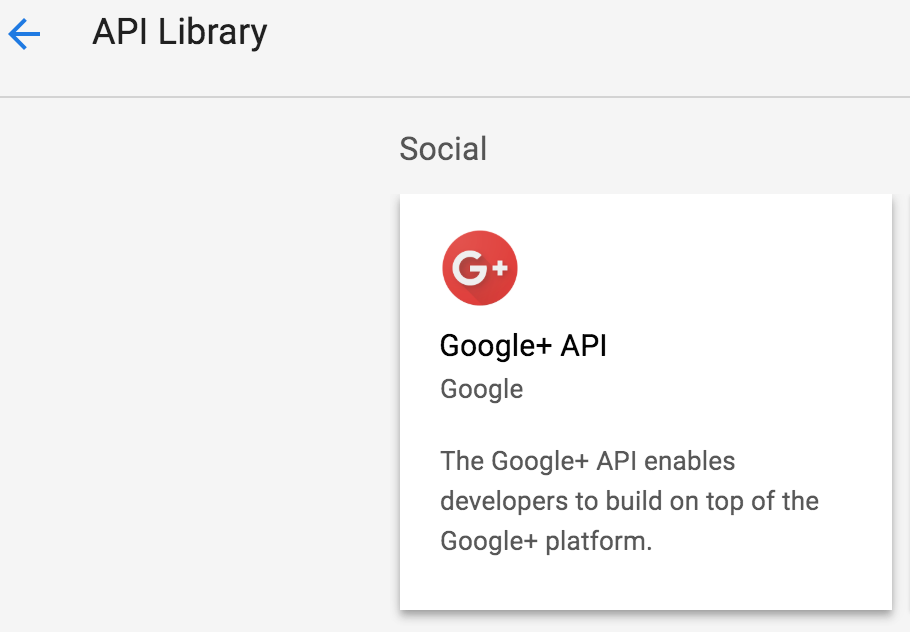
2. Select **ENABLE APIs AND SERVICES**, then locate and select the Google+ API card in the API library.
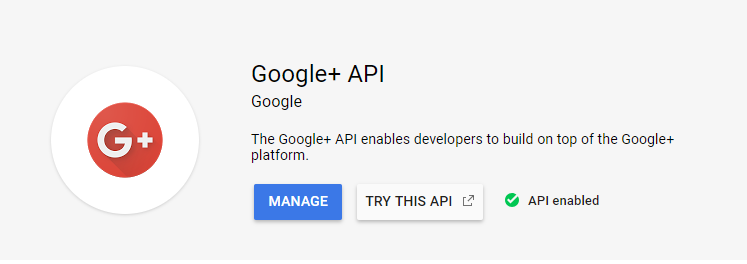
 3. Click **ENABLE**.
 Now you can create credentials for the platform to access your Google Cloud project.
***
Now you can create credentials for the platform to access your Google Cloud project.
***
Creating Google+ credentials
With your project selected *in Google Cloud Platform*:
1. Select **APIs & Services > Credentials** from the menu on the left.
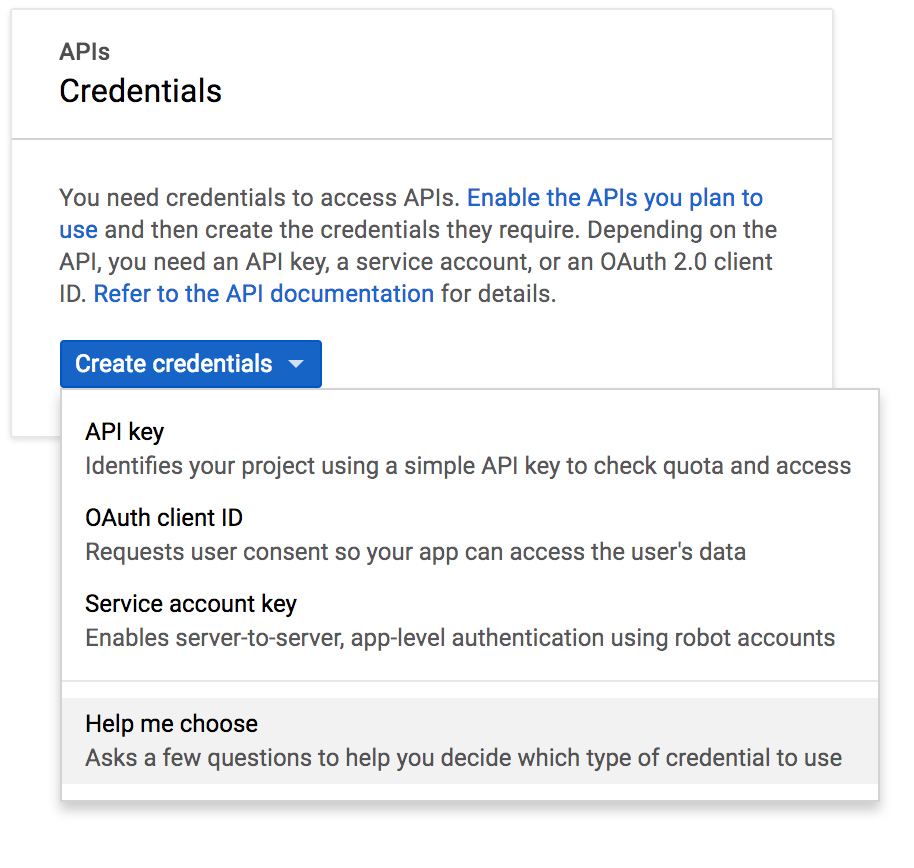
2. Click **Create credentials** and select **Help me choose** from the drop-down menu.
If you haven’t already, be sure to [enable the Google+ API](#enabling-the-google-api) before proceeding.
 3. Select **Google+ API** from the API drop-down list, **Web server** from the next drop-down, and **User data** for the last question.
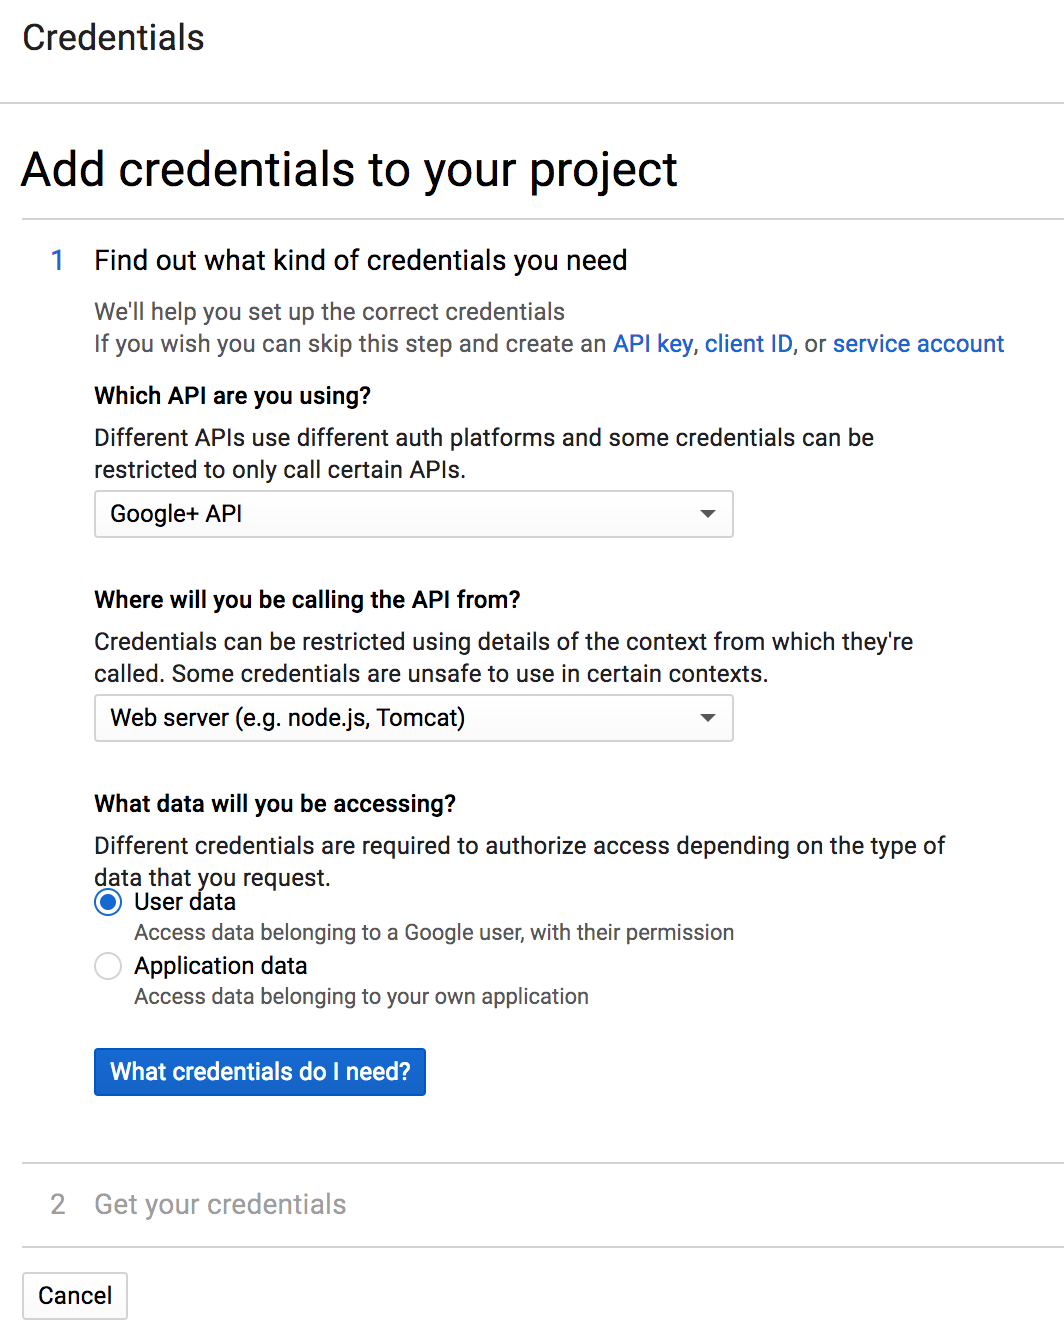 4. Click **What credentials do I need?** to create the appropriate credentials for the platform.
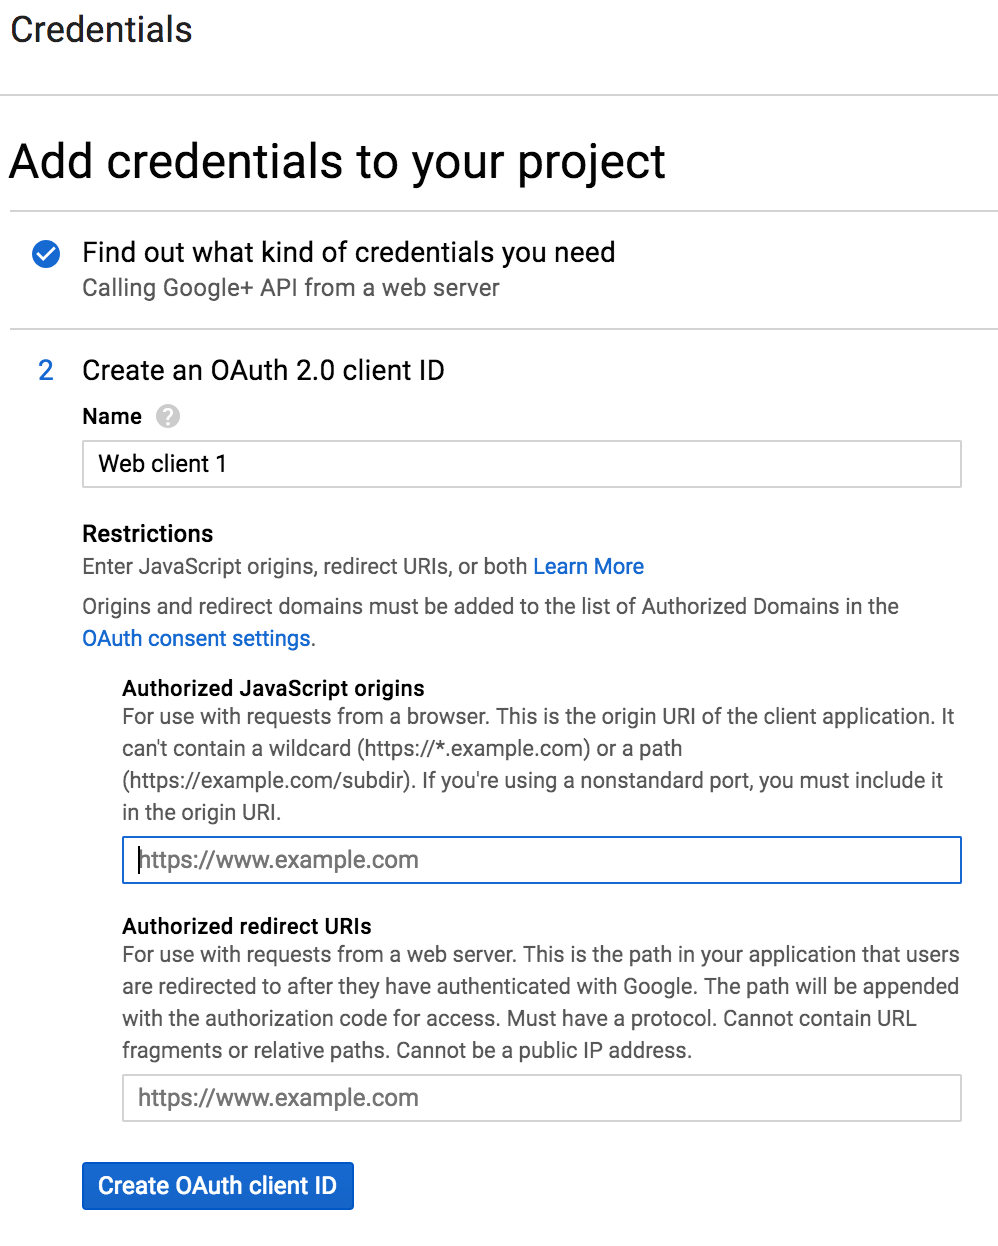 5. Enter a meaningful name, such as `Data Science & AI Workbench`, to identify the platform (and help differentiate it from any other web applications you might have configured to use Google IAM).
6. In the **Authorized JavaScript origins** field, provide the FQDN of the Workbench server instance.
7. *Open the Workbench Auth Center* ([see instructions below](#configuring-google-to-be-your-identity-provider)), and copy and paste the value from the **Redirect URI** field into the **Authorized redirect URIs** field here.
If the domain is not an authorized domain, you’ll see an `Invalid Redirect` error, and be prompted to add it to the authorized domains list before proceeding.
8. Click **Create OAuth client ID**.
9. On the **OAuth consent screen** tab:
* Set the **Application type** to **Public**.
* Set the **Application name** to `Data Science & AI Workbench` (or something else meaningful to platform users).
* Optionally, upload a logo to help users recognize Workbench.
* Provide a **Support email** address for users to reach out for help.
* Provide the full path to the authorized homepage where users will access Anaconda Enterprise.
* Optionally provide authorized links to a your organization’s privacy policy and terms of service.
10. Click **Create** to display the OAuth client credentials that you’ll need to copy and paste into Workbench, to enable the platform to authenticate with Google. (See Step 5 below.)
***
## Configuring Google to be your identity provider
Now that you’ve configured your GCP project to work with Workbench, you need to use the Workbench Administrative Console’s Authentication Center to configure Google as your external identity provider:
1. Open the **My Account** dropdown menu and select *Admin Console*.
2. Select **Manage Users** to access the Keycloak user interface (UI).
3. Log in using your Keycloak admin account credentials.
4. Select **Identity Providers** from the left-hand navigation, then select `Google` from the **Add provider** dropdown.
5. The **Settings** tab displays the **Redirect URI** you need to copy to the Google Cloud project’s configuration. The Redirect URI will looking similar to this: `https:///auth/realms/AnacondaPlatform/broker/google/endpoint`.
6. Copy and paste the credentials from GCP (Step 9 above) into the **Client ID** and **Client Secret** fields, and click **Save**.
Now that you’ve completed the configuration, the login screen will include a Google login option.
When users choose this option and log in to the platform, they’ll be automatically added as new Workbench users. As an Administrator, you can then configure their group assignments and role mappings. For more information, see [Roles and groups](./groups).
5. Enter a meaningful name, such as `Data Science & AI Workbench`, to identify the platform (and help differentiate it from any other web applications you might have configured to use Google IAM).
6. In the **Authorized JavaScript origins** field, provide the FQDN of the Workbench server instance.
7. *Open the Workbench Auth Center* ([see instructions below](#configuring-google-to-be-your-identity-provider)), and copy and paste the value from the **Redirect URI** field into the **Authorized redirect URIs** field here.
If the domain is not an authorized domain, you’ll see an `Invalid Redirect` error, and be prompted to add it to the authorized domains list before proceeding.
8. Click **Create OAuth client ID**.
9. On the **OAuth consent screen** tab:
* Set the **Application type** to **Public**.
* Set the **Application name** to `Data Science & AI Workbench` (or something else meaningful to platform users).
* Optionally, upload a logo to help users recognize Workbench.
* Provide a **Support email** address for users to reach out for help.
* Provide the full path to the authorized homepage where users will access Anaconda Enterprise.
* Optionally provide authorized links to a your organization’s privacy policy and terms of service.
10. Click **Create** to display the OAuth client credentials that you’ll need to copy and paste into Workbench, to enable the platform to authenticate with Google. (See Step 5 below.)
***
## Configuring Google to be your identity provider
Now that you’ve configured your GCP project to work with Workbench, you need to use the Workbench Administrative Console’s Authentication Center to configure Google as your external identity provider:
1. Open the **My Account** dropdown menu and select *Admin Console*.
2. Select **Manage Users** to access the Keycloak user interface (UI).
3. Log in using your Keycloak admin account credentials.
4. Select **Identity Providers** from the left-hand navigation, then select `Google` from the **Add provider** dropdown.
5. The **Settings** tab displays the **Redirect URI** you need to copy to the Google Cloud project’s configuration. The Redirect URI will looking similar to this: `https:///auth/realms/AnacondaPlatform/broker/google/endpoint`.
6. Copy and paste the credentials from GCP (Step 9 above) into the **Client ID** and **Client Secret** fields, and click **Save**.
Now that you’ve completed the configuration, the login screen will include a Google login option.
When users choose this option and log in to the platform, they’ll be automatically added as new Workbench users. As an Administrator, you can then configure their group assignments and role mappings. For more information, see [Roles and groups](./groups).